


The more time a user spends in HubSpot, they will begin to understand that one of the most fundamental components of the platform is HubSpot properties.
HubSpot properties are fundamental to users in getting them to model HubSpot in a way that suits their business. One of the best parts of properties is that it’s customisable and can be used in all of the HubSpot Objects, such as Contacts, Companies, Deals, Tickets, Products, Invoices, Marketing events and Custom Objects.
Even if companies are in the same industry, one thing we have seen is that they are unique in the way they may want to get things done. That’s why we always recommend to new and existing users to take the time to review their business. If they are not seeing or are unable to generate a report on a specific aspect of their business, it’s because they have not called up that property or it’s not created.
In this tutorial, we share a video tutorial and a step-by-step guide on creating properties in HubSpot.
------------------------------------
Watch The Tutorial

------------------------------------
Here's how to create properties in HubSpot
Step 1: Log in to your HubSpot account
First, log in to your HubSpot account. If you're new to HubSpot and do not have an account, you'll need to sign up for an account first.
Step 2: Navigate to the properties settings
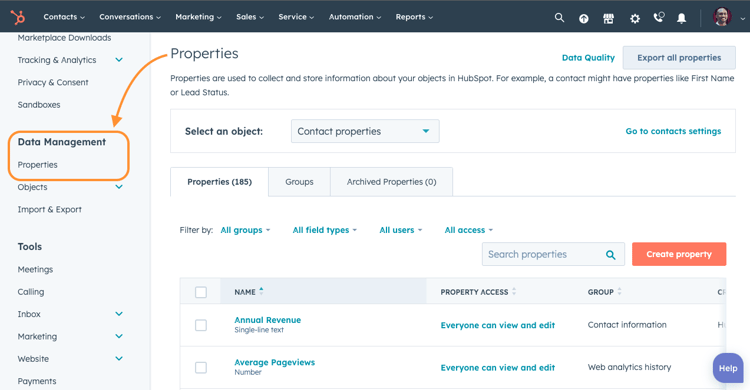
Once logged in, click the "Settings" icon in the main navigation menu. Scroll down and click "Properties" under "Data Management.”
Step 3: Create a new property
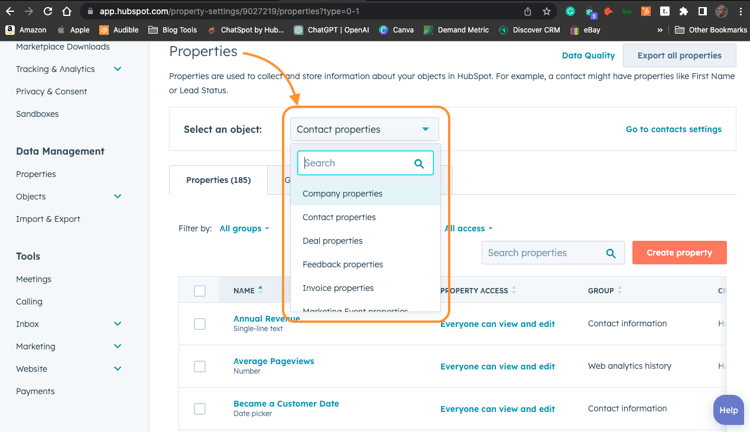
Choose the object you want to create the property in, for example, a Contact, Deal, or Ticket property.
Tip: This should always be connected to a strategy for something you would like to execute or report on later.
Tip: Take some time to review the existing properties so that you are not duplicating efforts. There may be instances where one of HubSpot’s default properties already captures or can do the same thing but carries a different title/name.
To create a new property, click the "Create property" button in the upper right corner of the screen.
Step 4: Choose an Object Type, Group, Label and Description
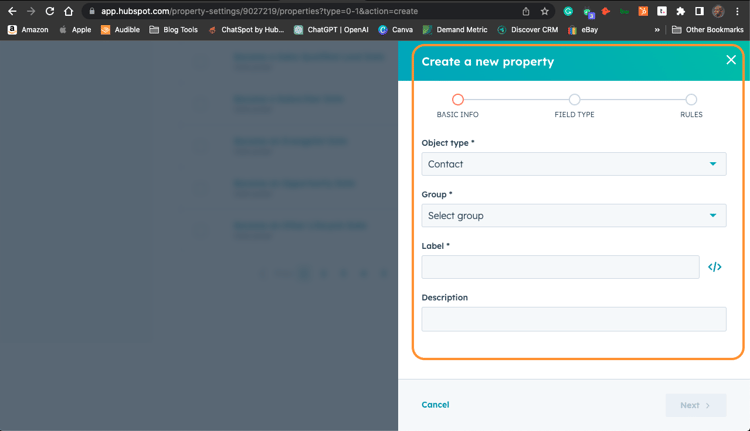
Next, you'll need to choose the Object Type of property you want to create.
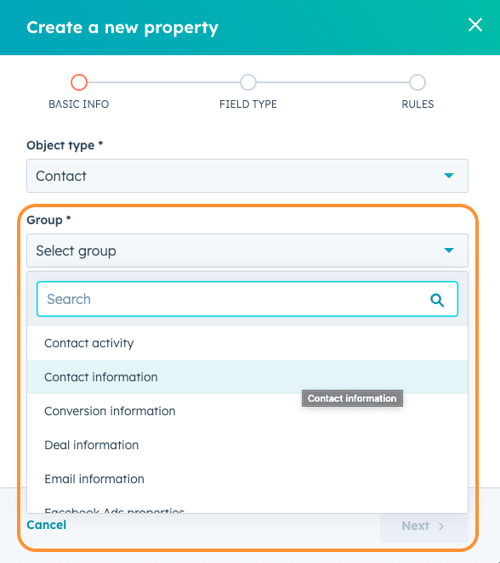
Then choose the “Group” you want the property data stored.
Tip: Groups represent where HubSpot will store the data based on the activity of the lead or deal. For example, if a lead fills out a form, the information collected in that property can represent lead information. Think about what this data means to you and group it accordingly.
Once you select your “Group,” you can Label or name your property.
The label will represent the property's name in HubSpot, so it is essential that you choose something easy to find that makes sense.
Once you choose your label, the next step is to give a description.
Note: While field descriptions are optional, adding a description that explains the purpose of the property is vital because other admins that would like to use or modify this property can read and understand what it’s all about.
Once these are completed, click “NEXT.”
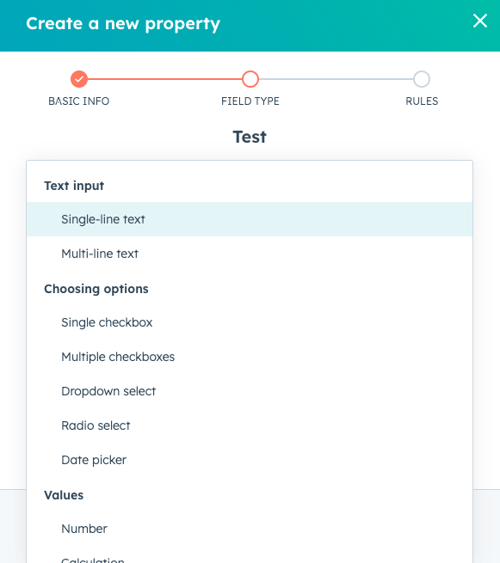
Step 5: Select Field Type
Field Types in HubSpot represent different ways you can input data into HubSpot; below are just some examples.
-
Single-line text: Allows you to store a single line of text, such as a name or email address.
-
Multi-line text: Allows you to store multiple lines of text, such as a bio or description.
-
Date picker: Allows you or a lead to choose a date, such as a contract end date, a start date, a birthdate or anniversary, etc.
-
Dropdown select: Allows you to store a predefined set of options, such as a list of products, locations, countries or job titles.
-
Radio select: This is similar to a dropdown select but displayed as radio buttons, and you can only choose one option.
-
Checkbox: Allows you to store a boolean value, such as whether a contact has opted in to receive emails.
-
Number: Allows you to capture a numerical value, such as a phone number or age.
-
Currency: Allows you to store a numerical value with a currency symbol, such as a price or budget.
-
File: Allows you to receive files, such as a resume or a proposal.
Note: Depending on the type of property you're creating, you may have additional settings to configure, such as minimum and maximum values for number properties or allowed file types for file properties.
Choose the type of property that best fits your needs, and click on the "Next" button.
Step 6: Use Your New Property
Congratulations, you've created a new property in HubSpot! Now you can store and organise information about your contacts, companies, or deals.
Did You Find This Helpful? Subscribe Here For More HubSpot Tips

COMMENTS