

-3.png?width=575&name=Website%20%20Landing%20Page%20(1)-3.png)
For organisations utilising HubSpot, appropriately assigning paid seats to new or existing users is not just a matter of organisation but a strategic necessity. Proper assignment ensures that each team member has the tools and permissions needed to perform their roles effectively.
This is particularly important for HubSpot super administrators and account holders in smaller teams, where roles can be diverse and fluid, and resources need to be optimally allocated.
Failing to assign these seats correctly can lead to several risks. Firstly, it can restrict team members from accessing essential tools and functionalities necessary for their tasks, hampering productivity and potentially delaying project timelines.
On the other hand, over-assigning or incorrectly assigning seats can lead to unnecessary expenses for features that are not needed, a critical consideration for small teams operating with limited budgets.
Moreover, incorrect access assignments can pose security risks, especially if individuals are granted permissions that exceed their requirements or expertise. Thus, understanding and implementing a systematic approach to assigning paid seats in HubSpot is not just a procedural task, but a fundamental aspect of maintaining operational efficiency, budget control, and data security."
Watch The Tutorial
-------------------------------------
How To Assigning Paid Seats To New or Existing Users in HubSpot:
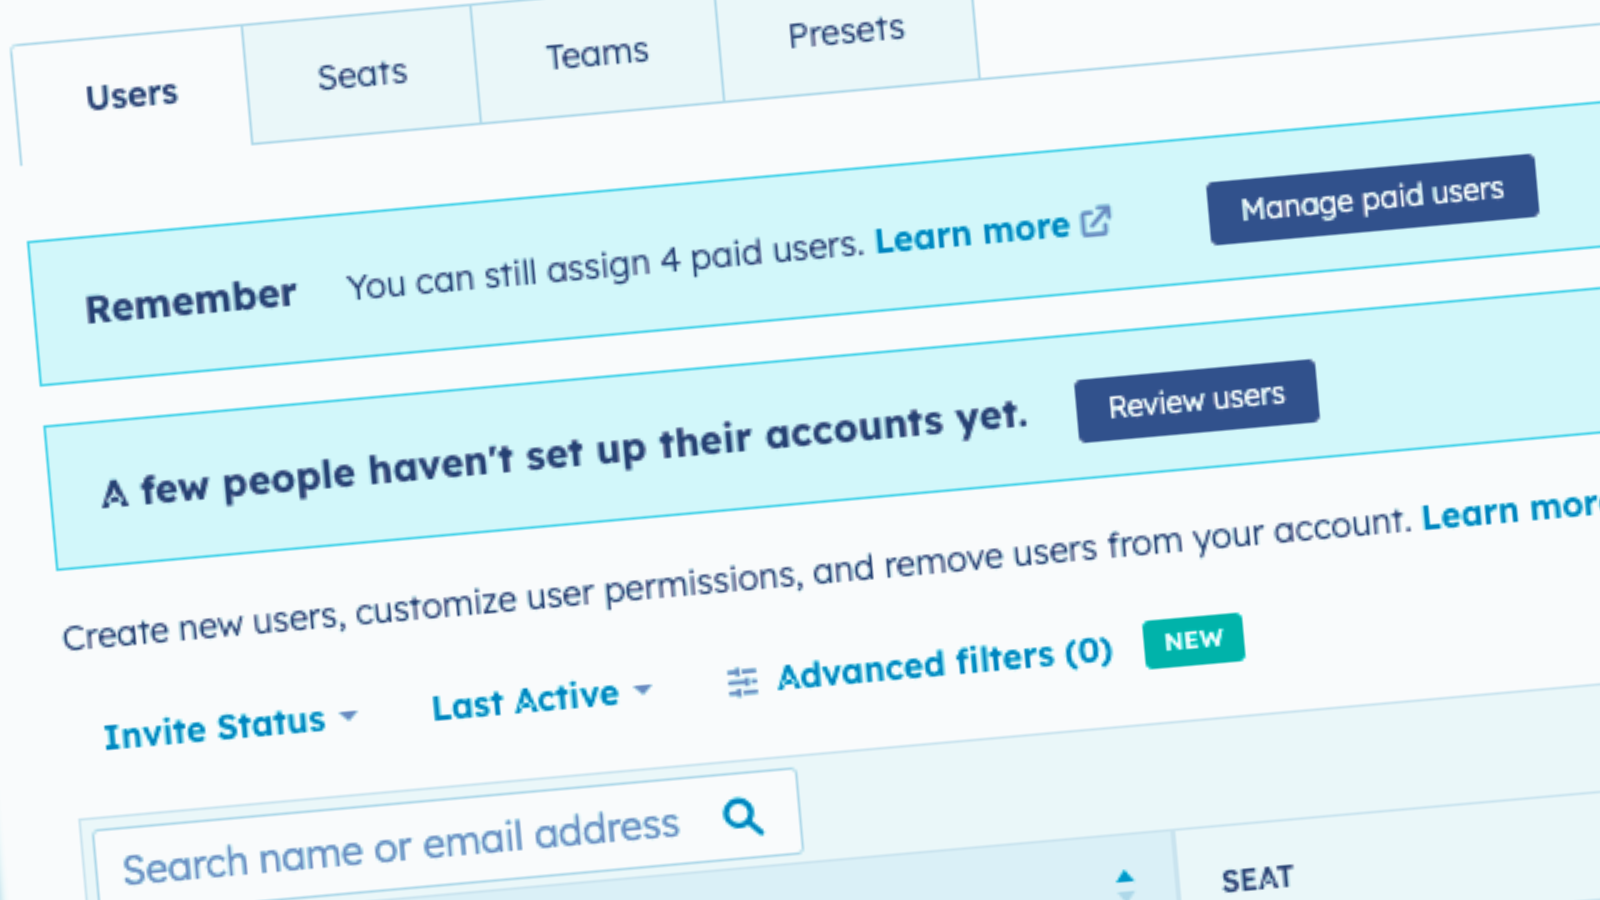
- Access Settings: Navigate to the 'Settings' option in the HubSpot portal.
- Select Users and Teams: In the Settings menu, find and select the 'Users and Teams' section.
- Assign a Seat to a User: Choose a user (e.g., Marcus Coffee in this example) for whom you want to assign a seat. This is done in the 'Seats' section.
- Choose Seat Type: Decide whether the user needs a 'Sales' seat, a 'Service' seat, or both. This determines the functionality and access level the user will have.
- Change Seat Access: If they currently have no access or limited access (basic/free version of HubSpot), update their seat to provide them with the necessary tools and functionalities for their role.
- Save Changes: After selecting the appropriate seat type, click 'Save' to confirm the changes.
- Wait for The System to Update: The changes might take up to 5 minutes to reflect in the user's account. Inform the user (e.g., Marcus) to refresh their screen after this period to access the newly assigned features and tools.
This process allows HubSpot super administrators and account holders to update each user's access to specific features or functionalities within the HubSpot portal, ensuring they have the necessary tools for their job roles.
Did You Find This Helpful? Subscribe Below For More

COMMENTS